| Version 2 (modified by , 13 years ago) ( diff ) |
|---|
User Guidelines - Roster tool
Summary
Purpose:
- This tool aims to provide a roster functionality to people. In a date and job task grid, people can be assigned an individual slot. This table will also be identified by other parameters like time.
- People once added, can be given additional Job Titles, which can be used while making the roster
- The roster tool can be used for Project, Incidents and Organisations.
Data
Types of Information:
- Roster table
- Roster shift
- Date of Job assignment
- Job title for the assigned job.
Features
- A basic working System is operational on Demo
- You can view the previous rosters.
- You add tables which need to be rostered.
- You can add new jobs in a given roster.
- You can also have an optional roster which defines the table cell as an optional position. This may be filled at a later date.
- The optional roster table can also be rated as "Required" which will imply higher level of requirement.
Incident:
- Incident is a confirmed incident (for which there may be Many reports received since reporters won't know about each others' Reports)
Assessment:
- An assessment is a follow-up visit to an incident to get more details
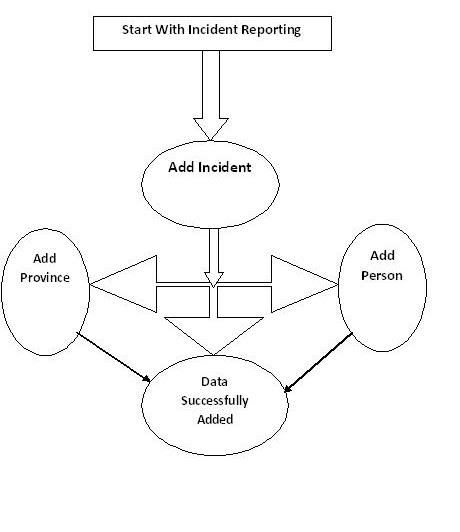
1. Report an incident
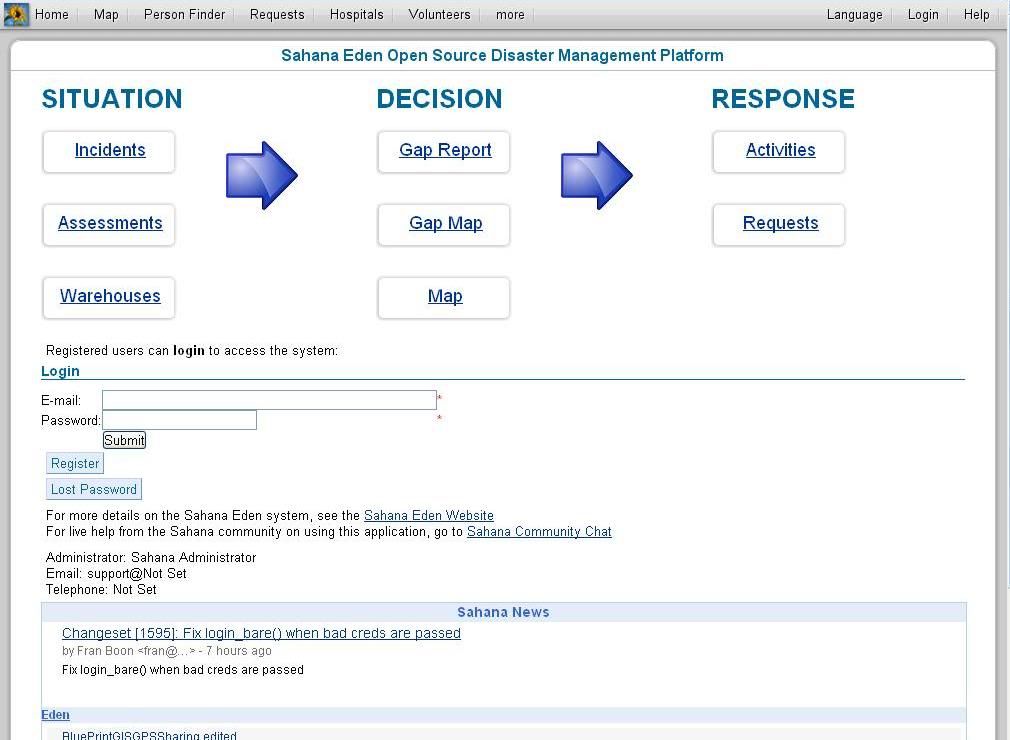
- Click "Incident Reporting" button on the top menu and link to the main page of this module.
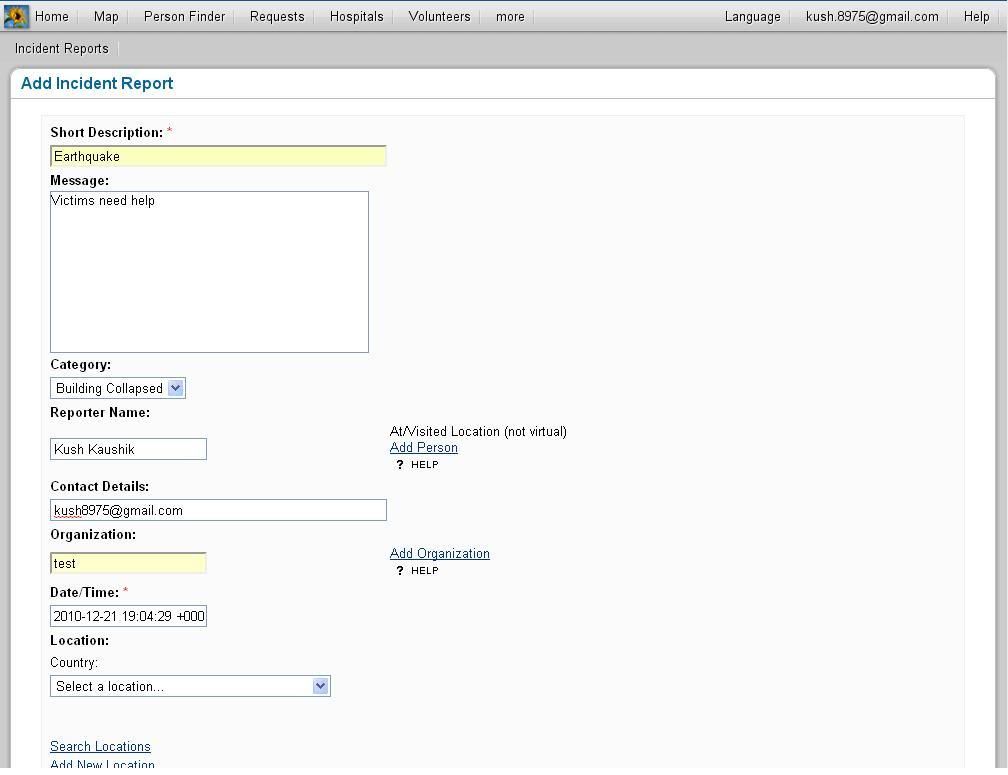
- Click "Add Report".
- Fill in the incident information and short description is required.
- Click "Save".
2. Add Person during reporting
- If the reporter is not the recorder, then "Add Person" is nessary.Especial when the reporter is a diaster victim.
- The entry of "Add Person" is on the right of the column of "Reporter Name".
- Click "Add Person" will go to the page.
- Fill in the information of the person and the "First Name" is required.
- Click save and the screen will go back to the incident reporting page. The reporter you just add will be the reporter of the incident.
3. Add Location during reporting
- If the location of the incident you are reporting is not in the location list, then "Add Location" will be necessary.
- The entry of "Add Location" is on the right of the column of "Location".
- Click "Add Location" will go to the page.
- Fill in the information of the location and primary name is required.
- Use "Conversion Tool" to have the coordinate info from your GPS fit the formate of Sahana Eden .
- In GPS format, fill in "deg" and "min" from GPS and click "calculate" button to have the decimal degrees.
- Click " Fill in Latitude" if that is it, same for longitude.
- Click save and the screen will go back to the incident reporting page. The location you just add will be the location of the incident.
4.Report confirmed incidents
- A confirmation message will be shown.
- Without Confirmation, information will not be saved.
Work Flow
Report
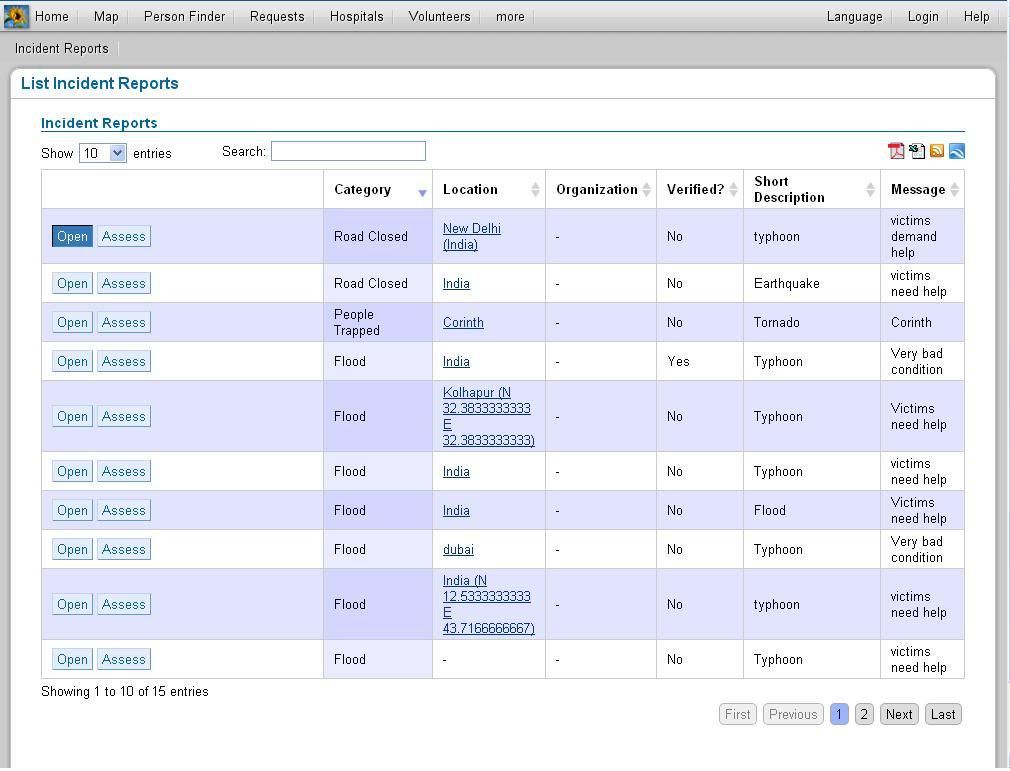
- The list of Incidents,People affected,Reporter Name and detail of disaster can be export to files, such as: PDF, Excel, RSS
- But they are just the summary of informations.
6.Images
Getting Started
Add Incident Report
List Incident Report: Fill the Details
Video Tour
INTRODUCTION to INCIDENT REPORTING
Attachments (5)
-
Sahana- Roster Workflow.png
(37.3 KB
) - added by 13 years ago.
Workflow
- Roster_Workflow.png (37.3 KB ) - added by 13 years ago.
- roster.png (77.8 KB ) - added by 13 years ago.
- addtable.png (39.2 KB ) - added by 13 years ago.
- addshift.png (23.6 KB ) - added by 13 years ago.
Download all attachments as: .zip
Note:
See TracWiki
for help on using the wiki.


